What Are Liquor Pour Control Systems?
Liquor pour control systems are used in bars and restaurants to help monitor and limit the amount of alcohol that is brought into a building. This can be important for businesses because it ensures that people don't overindulge or get drunk before they order their food.
Liquor Pour Control Systems- How To Build Your Own Without A Mess
What Are Liquor Pour Control Systems?
Any bartender can tell you it's difficult to keep tabs on who's been served and how much they've had. With a liquor pour control system, it becomes easier to keep the pours in check and prevent over-pouring. A liquor control system is a device that regulates the amount of liquor poured into a bottle or glass, preventing over-serving. There are two major types of liquor dispensing systems- manual and automatic. Manual systems require you to use a stopwatch or phone app for each drink poured. Automatic systems can be used by standing or mounted, use a sensor that detects when something has fallen into a container, such as a glass or a bottle, and automatically stop the beer tap or wine corker when the sensor detects an object in the vessel. Installing liquor control systems is the best way to stop your customers from over-serving themselves. These systems are said to reduce over-serving by 40%.
How To Set Up Your Liquor Pour Control System?
To begin with, figure out the fast-selling liquors that need to be checked over the liquor dispensed. Next, choose a portion control system that works best for your bar and within your budget. You get readymade options in the market that offer systems with the pour spouts linked to the POS system that helps to keep track. Alternatively, you can make your own system that helps you control every pour. A controlled free pour is also possible, but for that, the bartender needs to be very experienced, and of course professional.
What You Need To Build Your Own Liquor Pour Control Systems?
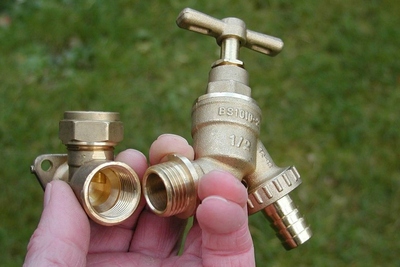
Whether you want to pour liquor like a pro or need to replace the liquor pour control systems that are currently in your establishment, you must understand what goes into building your liquor pour control system.
- First, know what you will be pouring. You will need to decide whether you want a free flow or controlled pours to have with your system. If you are only planning on dispensing one type of alcohol, then a free flow is the way to go. If you are going to be dispensing multiple types or brands of alcohol, then a controlled poured system might be best for you.
- Next, ask yourself how much liquid will be dispensed and how often? Will this amount be large or small? The size and number of pumps should also factor into your decision.
- Finally, consider the design and durability of your liquor pour control system.
How To Build The Liquor Pour Control Systems?
While there are many different types of DIY liquor pour control systems, here is one that is one of the easiest. While it doesn't have a tracker to control liquor poured, it makes it easier to pour liquors - spirits, wine, and such - from the liquor bottle into glasses or measuring jiggers.
What you need-
- 1 - straight tee (3/4")
- 1 - 1" to 3/4" reducer
- 1 - 3/4" floor flange
- 1 - 6" long 3/4" threaded pipe
- 1 - 3" long 3/4" threaded pipe
- 1 - bottle cap
- 1 - wine cork
- 1 - spigot (3/4")
- 4 - screws
- A thick wooden base of 8.5"
- A wood stain of your choice
- Pyroacrylic finish
- Metal spray paint of your choice
- Protective spray for metal
Base And Colour-
Take the wooden base and apply the wood stain and let it dry. Apply 3 to 4 layers of Pyroacrilic finish. Keep aside to dry. Keep the metal pipes in a box and spray paint them in a color of your choice. Let this dry. Use the protective spray on the pipes and let them dry.
Cork, Cap And Spigot-
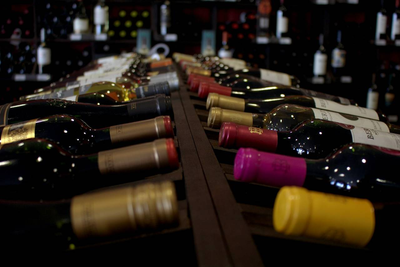
Take the 6" pipe, and attach the cork to one side of it securely. This will ensure the liquid doesn't flow down below this. Take a cap (of the intended bottle you want to use) and drill a hole on top. Attach this inside the 3" pipe. Now attach the 6" pipe to the floor flange with the cork side on top. Attach the straight tee to the pipe on top. Then above the straight tee, attach the 3" pipe from the opposite side of the side with the cap attached. This way the bottle can be attached using the cap. Attach the spigot on the open side hole. The spigot and the cork in the bottom pipe, Controls Internal flow of the liquor. Ensure all the attachments are secure and there is no leakage at any point.
Home Bar
Assembling Together-
Attach the floor flange to the wooden base using the screws on one side. Do so in such a way that the glasses or measuring jiggers can be kept below the spigot and on the base. Ensure the screws are secured properly. Putting this structure upside down, screw in the bottle cap back onto the bottle, and turn it upside down. Your liquor pour control system is ready!
Wireless Liquor
Advantages Of Liquor Pour Control Systems
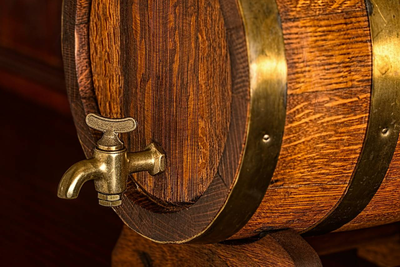
Firstly, it helps with bar liquor inventory control. In turn, helps with making bar profit as over-pouring and wastage get reduced. Bar management also gets easier in the long run, as the liquor costs are kept in control, and real-time analysis is possible if the system is automated. Every drink one pours every time has the exact amount poured, reducing liquor loss. If you use measuring jiggers and keep track of amounts poured, the Data Integration can help you track what's selling well and what's not, as also what you need to replace.


